Merge Settings
Merge Settings is where you can control properties of the merged order (created by Mergify). You can also decide what happens to the original orders (including Actions, Tags & Notes).
You can retrieve default settings by pressing the Reset Tot Default button.
In order to save the changes, press the Save button, otherwise, changes won't take effect.
Merged Order Properties
You can choose how the new order is shaped here.
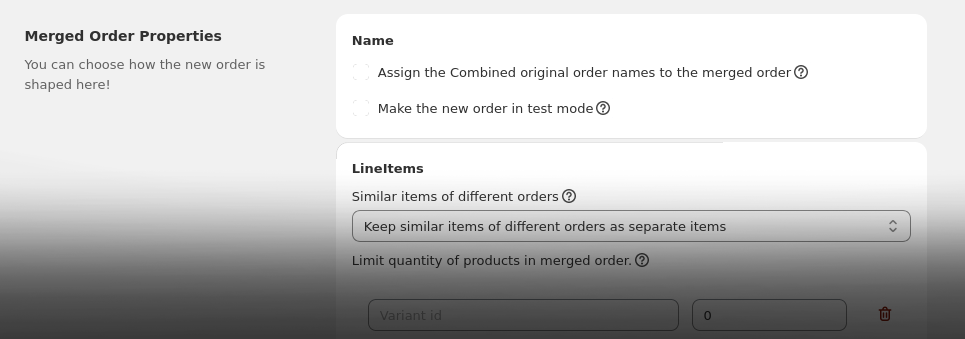
Name
Assign the Combined original order names to the merged order
Combine original orders' names to make the new order name. Otherwise Shopify will automatically create a new name.
Make the new order in test mode
This is the recommended setting for all stores. Test orders will keep sales data and analytics clean. We recommend that you keep this setting enabled unless you have a specific problem with it.
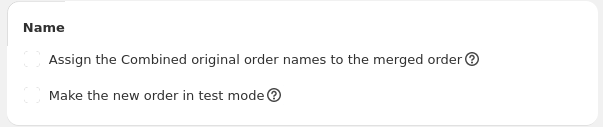
LineItems
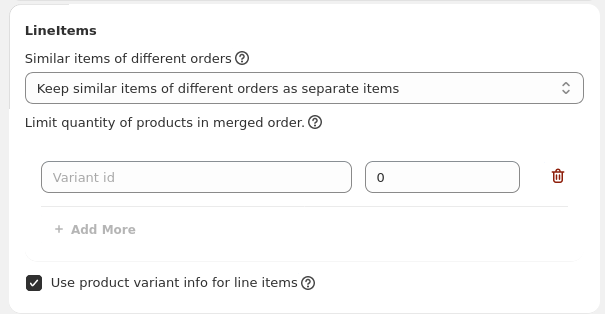
Similar items of different orders
This settings determines if identical items should appear in the same line. If you choose to merge line items, you can lose custom properties for those products. If you use custom properties, we suggest that you keep items separated.
Limit quantity of products in merged order.
This can be useful if you want to set a limit for a certain product in the merged order; e.g. gift items, handling fees or etc.
Use product variant info for line items
This settings determines how Mergify handle lineItems specification. if not selected, new lineItems on merged order would be placed as a custom lineItems. If you are experiencing issues with line item prices or discounts, disable this setting.
Total
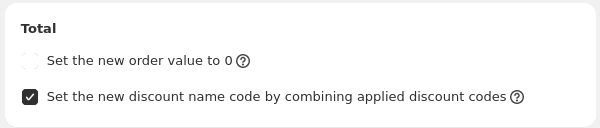
Set the new order value to 0
This will apply a 100% discount to order subtotal. If making orders in test mode is not suitable for you, this can help to keep analytics clean.
Set the new discount name code by combining applied discount codes
Use the original applied discount code names and combine them to generate the new discount code. for example: Order A discount code = 'DISCOUNT A', Order B discount code = 'DISCOUNT B', Order merged discount code = 'DISCOUNT A - DISCOUNT B'.
Shipping Line

Recalculate the shipping line for the new order based on store rates
When active, Mergify will recalculate the shipping line based on your rates. This is great if you are calculating shipping cost based on order weight or value.
Note that when you select this option, Shipping Line is changed to Shipping Rate with different options.
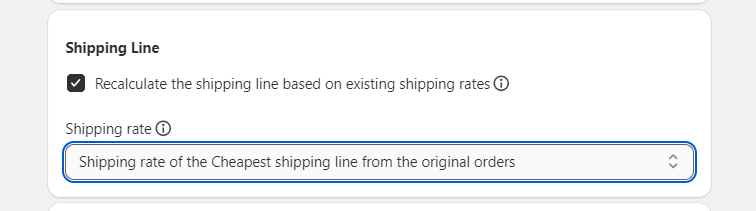
Which shipping rate (from original orders) should be used for the new order?
You can choose which shipping Line from original orders should be chosen for merged order. For example, if you choose "Cheapest shipping line from the original orders", the merged order's shipping line would be identical to the cheapest shipping line from the original orders.
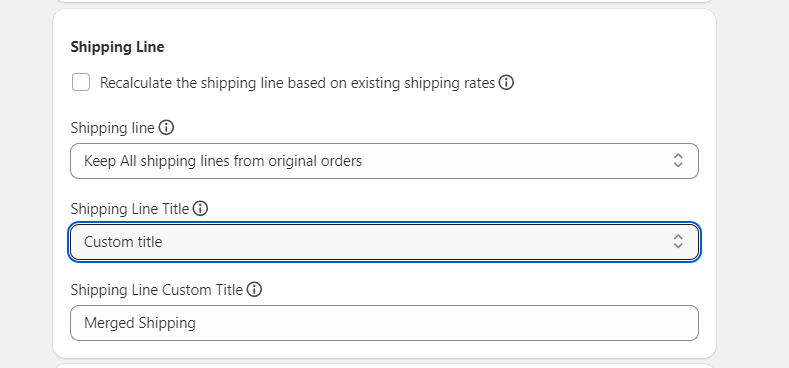
If you choose Keep all shipping lines from original orders, you see that there 2 more options that must be filled.
you can select Shipping Line Title by the options Mergify gives you or you can select Custom title which you can type the title you want.
Notes
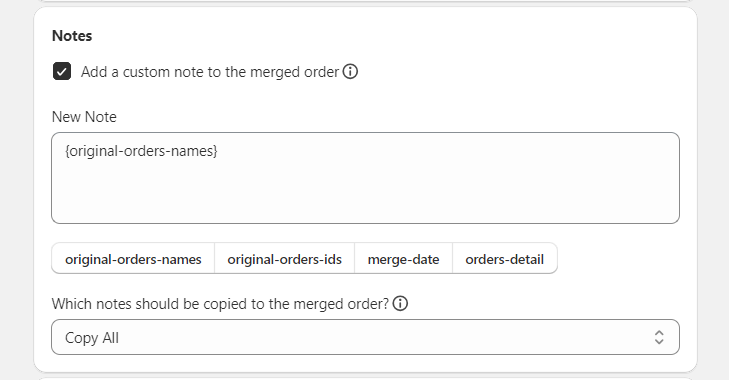
Add a custom note to the merged order
You can add your note by selecting this option.
Which notes should be transferred to the merged order?
You can choose which notes from original orders are copied to the merged order from here.
You can also choose from the suggested notes and add them to your note.
Tags
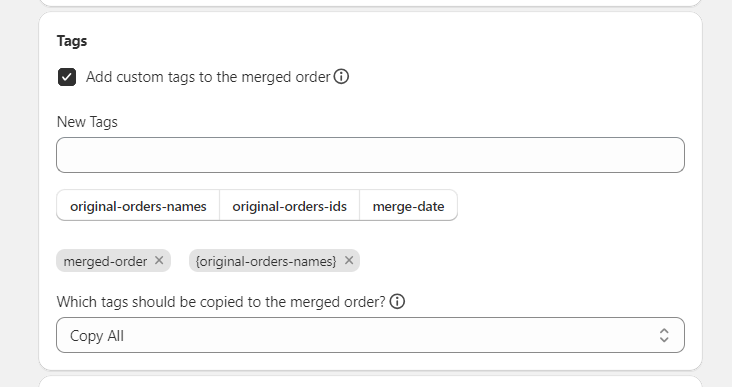
Add custom tags to the merged order
You can select this option to add custom tags you want.
Which tags should be transferred to the merged order?
You can choose which tags from original orders are copied to the merged order from here.
Customer

Choose the customer
When you want to merge and have different customers, you can choose the customer you want for the merged orders.
Refund

Refund extra shipping cost
Refund the difference between the merged order's shipping line cost and the original order's sum of paid shipping lines cost.
Original Orders
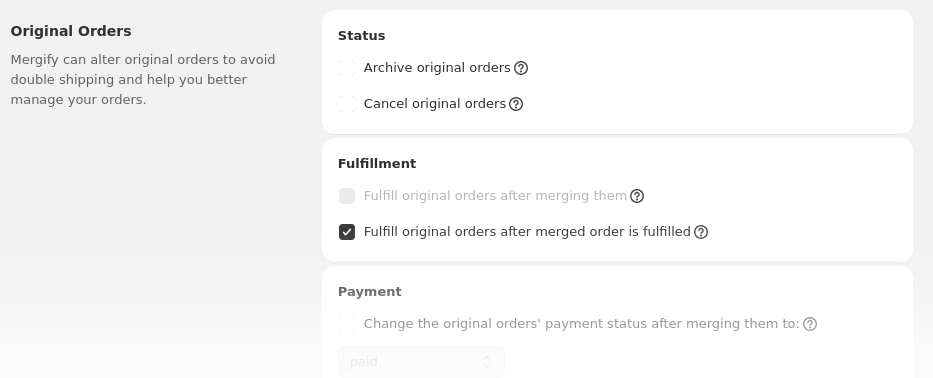
Status

Archive original orders
Archives original orders to avoid fulfilling them.
Cancel original orders
Cancels original orders.
Cancelling original orders is not reversible.
Canceling orders in NOT good!
Fulfillment
You can fulfill original orders in two different ways.

Fulfill original orders after merging them
You can set this option and the Mergify fulfills the original orders fulfillment status after merging process ends.
Fulfill original orders after merged order is fulfilled
With this setting, Mergify will automatically fulfill the original orders when you fulfill the merged order. If you fulfill the merged order with a tracking number, Mergify will populate the original orders with that tracking number.
Payment

Change the original orders' payment status after merging them to:
Mergify can change original orders' payment status after the merge procedure. (VOID or PAID)
Notes & Tags
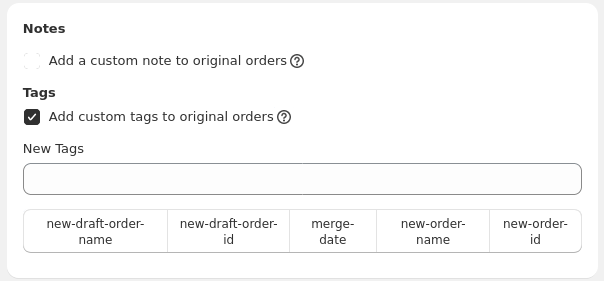
Add a custom note to original orders
You can append a custom note to the original orders from here.
Add custom tags to original orders
You can add custom tags to the original orders from here.